Download File
The action Download file allows you to download files with a size up to 100 MB from your FTP/ sFTP server.
The action Download file allows you to download files with a size up to 100 MB from your FTP/ sFTP server.
For our example we used Rebex.
Step 1: Go to the Credentials Manager section and click Add New.
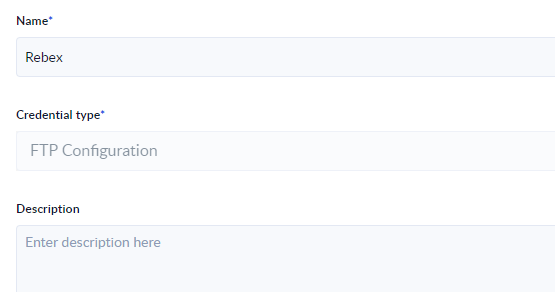
Step 2: Give your credential a Name* and Description (optional) and click Next step.
Step 3: Configure the FTP / sFTP connection as needed:
- Port number* - the port number used by the server.
- Protocol type - the protocol used depending on the encryption.
- Directory path - the entry point of the server.
- Authentication method - here you have the option to use a basic username and password authentication or a user key authentication.
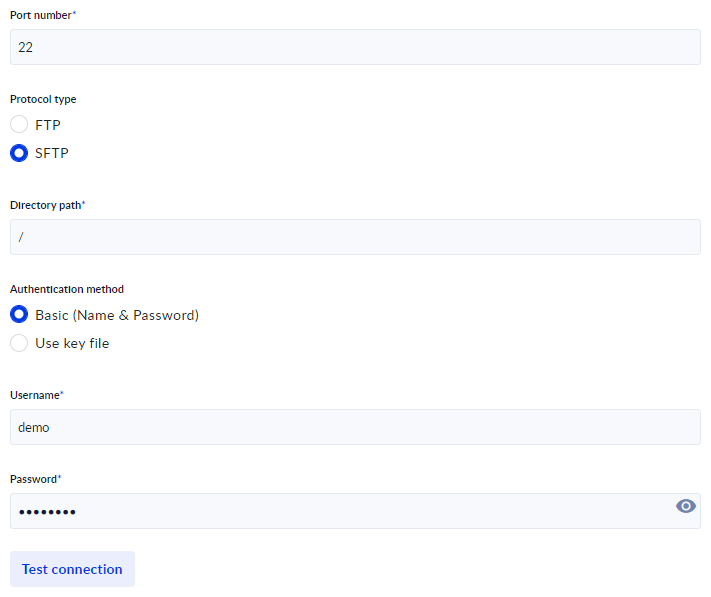
Step 4: Click Test connection and if successful click Save.
Create the process
Step 1: From the Process Designer section select Create new.
Step 2: Give you process a name.
Step 3: Drag the action Download File on the canvas and link the action inside you process.

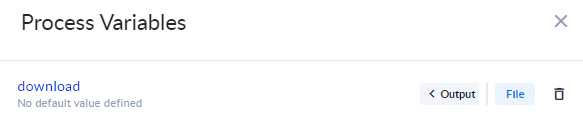
Step 4: Create the <%download%> JSon variable of type list.
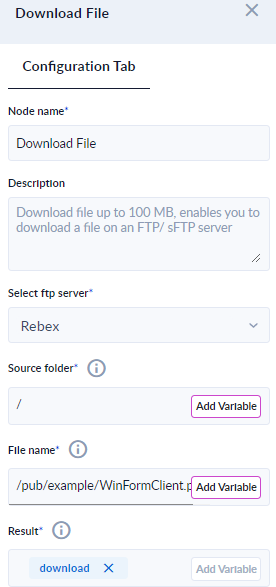
Step 5: Click the Download File action to access its configurations.
- Node name* - gives you the option to change the actions name.
- Select ftp server* - here we will select the connection created in the previous section.
- Source folder* - the path to the file that you wish to download.
- File name* - path to file and the name of the file.
- Result* - here we will add the variable created at Step 4.
Step 6: Save, Validate and Run the process.
Step 7: Click Check Instance.
Step 8: Here you have the ability to check the data saved in our variable by clicking it, or to download the data in the form of a file.
