Process Designer basics
This article covers everything you need to know about the process designer or so-called canvas.
This article covers everything you need to know about the process designer or so-called canvas.
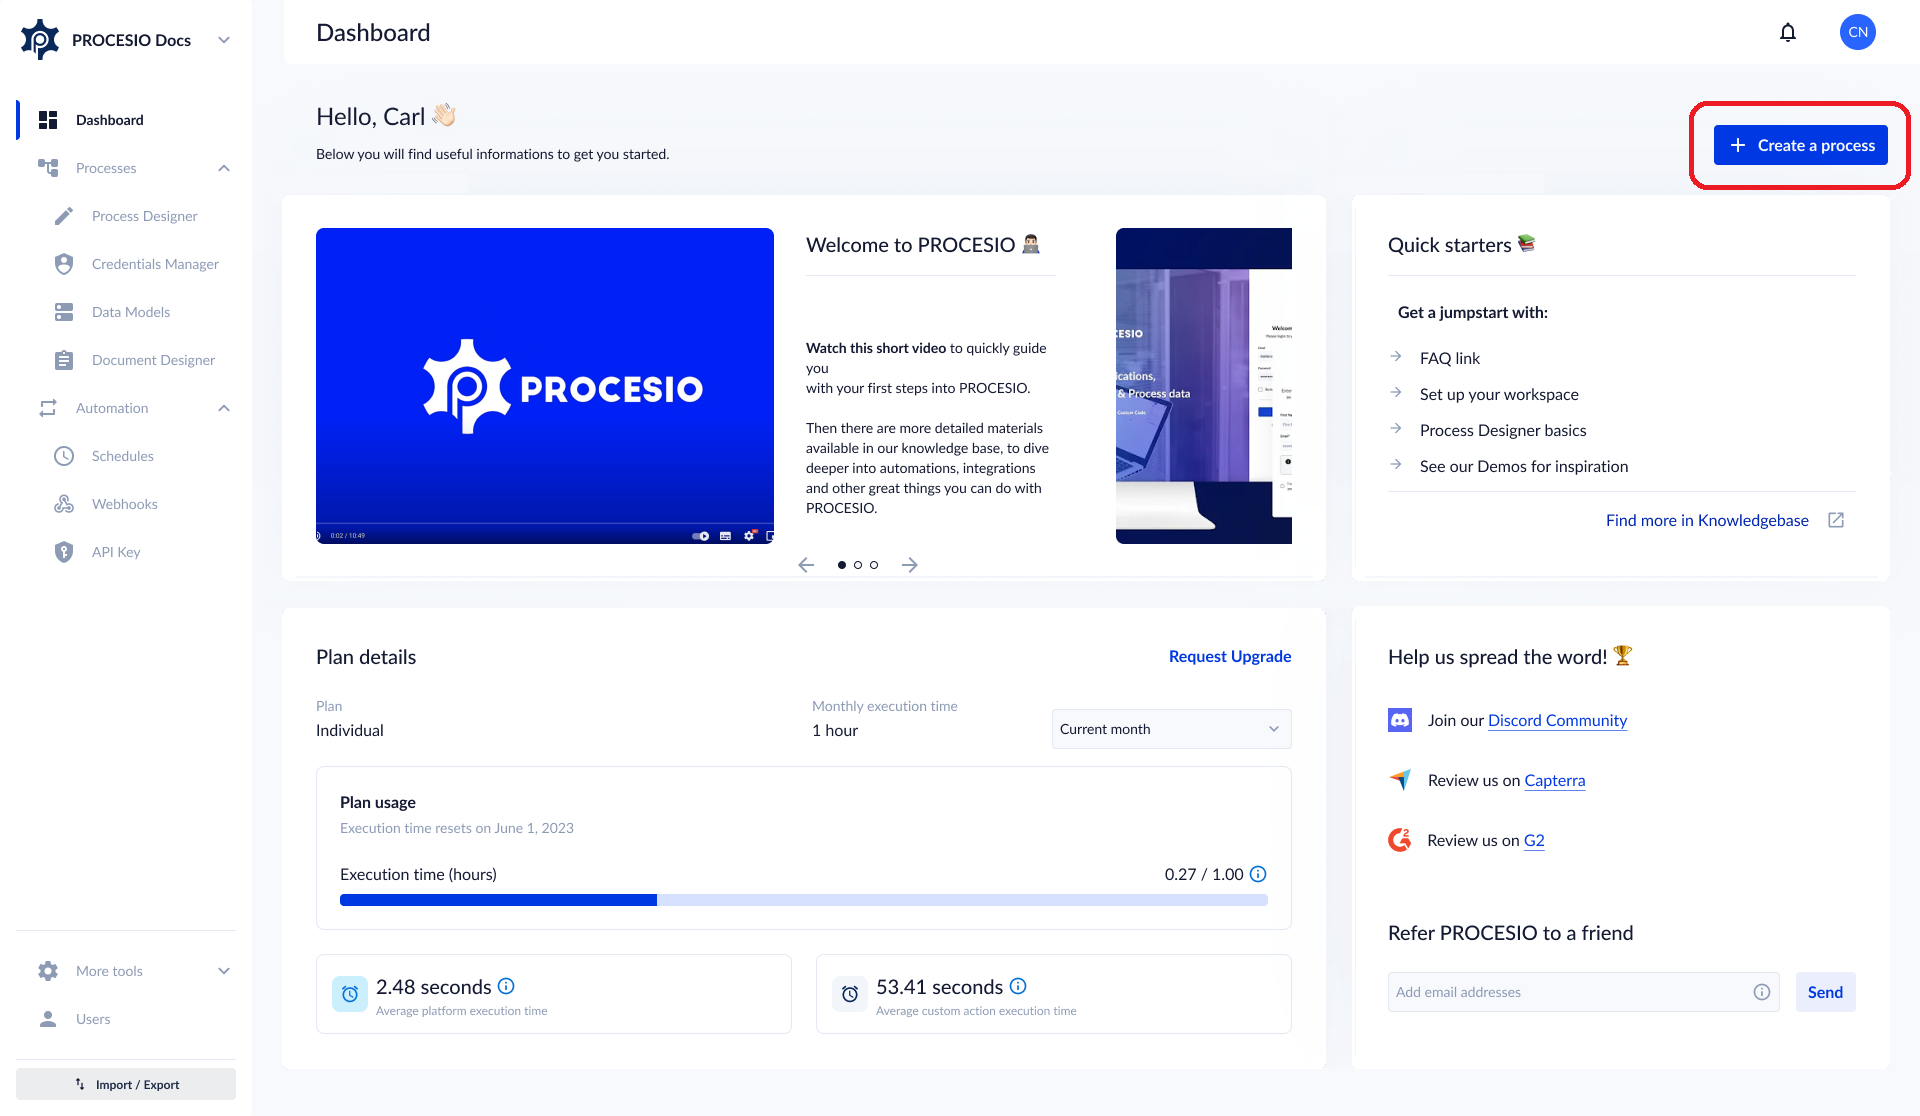
To access the canvas, from the Dashboard page, click the Create a process button.
As a first step, let's clarify some terms:
- Process (Flow) ➜ A visual workflow diagram of all the actions and relations involved.
- Action ➜ Process flows are made up of actions connected by relations. Each action either pulls data into PROCESIO, pushes data out of PROCESIO, or transforms the data within PROCESIO.
- Relation (Connection) ➜ Arrow between two actions; these arrows not only connect the actions but also tell you the direction of the flow of data.
- Canvas ➜ The surface where you work with actions and relations to create process flows.
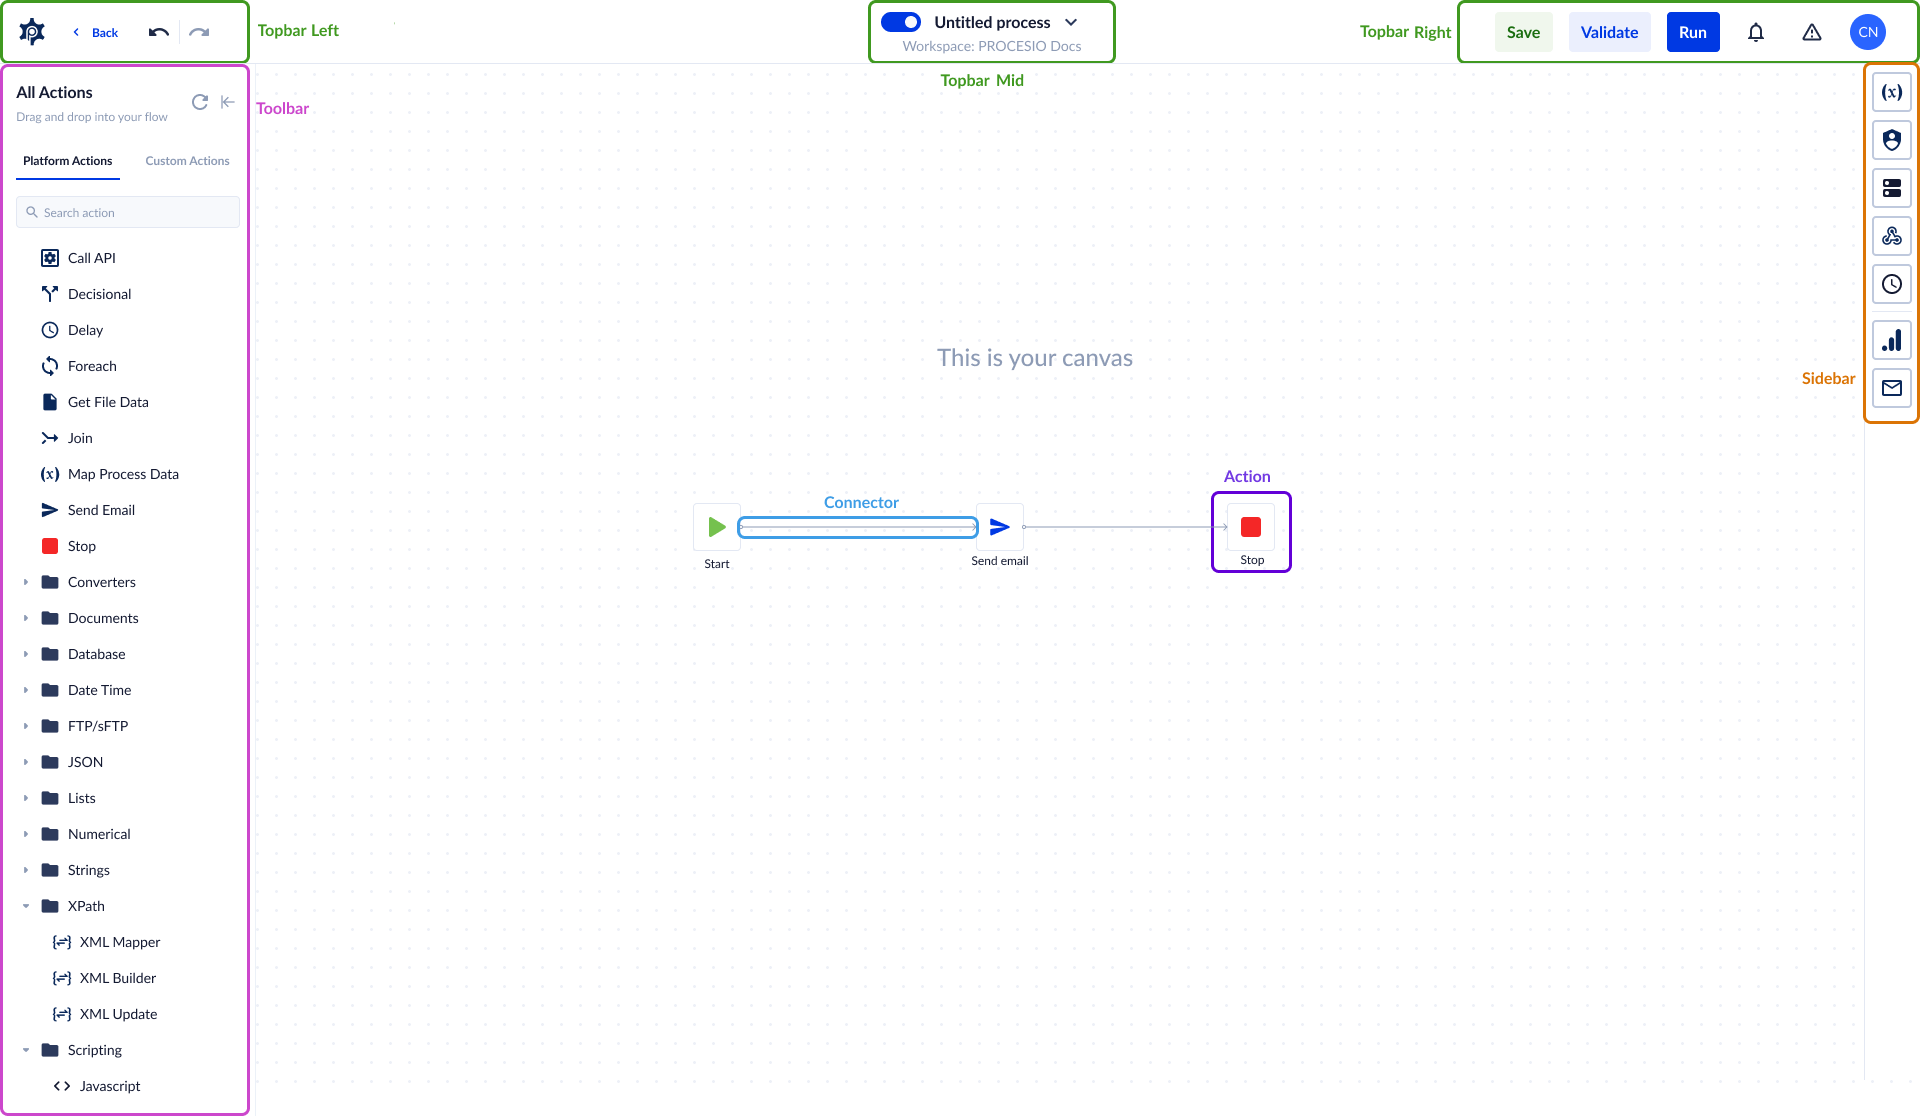
Topbar Left
On the left side of the Topbar, you'll find the Dashboard button, the Back button, and Undo/Redo arrows.
- Click the Dashboard button to go back to the Dashboard.

- Click the Back button to go back to the Process Designer section from the main menu.

- Use the Undo/Redo arrows to revert/restore actions performed inside the canvas.

The Undo and Redo functionality may sometimes behave poorly, so we suggest avoiding it when performing complex tasks or in general if possible until it becomes stable.
Topbar Mid
In the middle of the Topbar, you'll find an activation switch and a button to access process properties.
- Click the activation switch to set the process as either activeor inactive.
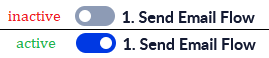
A process set as inactive will not be triggered by webhooks or started by schedules.
- Click the arrow to access process properties and some extra actions.
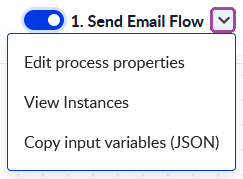
- Click on Edit process properties to edit the process name and description.
- Click on View Instances to open the instance view for this process.
- Click Copy input variables to save the input variables used inside this process to clipboard.
Topbar Right
On the right side of the Topbar, you'll find the Save, Validate, and Run buttons along with the notification center, the error log, and your user profile.
You can find both old and new notifications in the notification center.
- Click the Save button to save the current state of the process.

- Click the Validate button to validate the process structure.

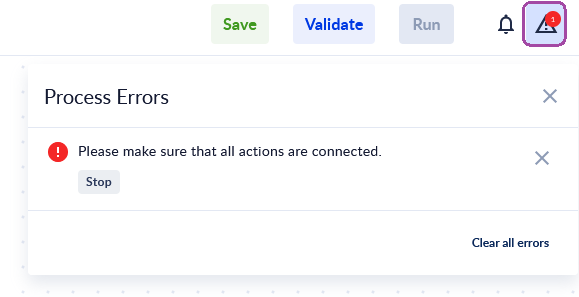
- If any validation error occurs, it will be displayed in the error log.
- Click the Run button to launch a new instance of the process.

Example Validation and Save & Run combo:

- From the user profile icon, you can log out by pressing the Sign Out button.
Toolbar
The Toolbar acts as an action library.
In the Platform Actions tab, you will find actions designed and created by PROCESIO, while in the Custom Actions tab, you will find the actions created by you using the Custom Action Builder.
- You can search for actions using the search bar, or you can explore the Toolbar's categories.
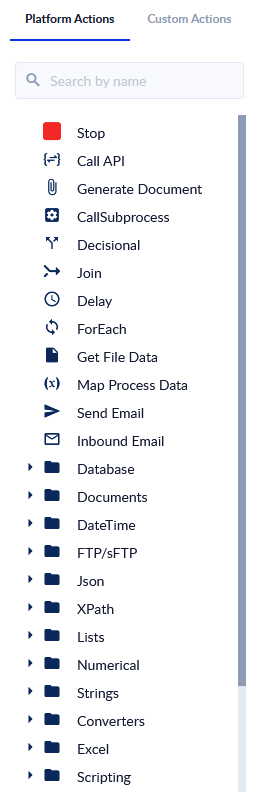
Every new process starts off as a blank canvas. The Start and Stop actions are available by default.
- To use an action, just drag in onto the canvas and connect it to other actions.
Every branch of the process must end with a Stop action in order to have a valid process flow. One Stop action is by default on Canvas. If you have several branches, drag more Stop actions from Toolbar.
Sidebar
The sidebar gives you fast access to Variable Manager, Credential Manager, Data Models, Webhooks, Schedules, Instance View, and Process Notifications. For more details about each component, check out their documentation page by clicking the name.


Instance View

Process Notifications
